Changing a WordPress slug or permalink structure without breaking links
Renaming a URL in WordPress takes two seconds: edit the slug, click Update. The consequences arrive later, when a link in an old newsletter, a bookmark or a search result leads to "Page not found". Sometimes WordPress quietly catches the old address and sends the visitor on; sometimes it does not, and it gives no warning either way.
This guide explains which URL changes WordPress handles on its own, which ones it leaves to you, and how to change a slug, a page's parent or the whole permalink structure without leaving broken links behind.
Three different changes that all alter a URL
It helps to separate the cases, because WordPress treats them differently.
- Changing one slug. The slug is the last part of the address, such as
/spring-opening-hours/. You edit it in the block editor's sidebar (the URL field under the post's summary) or with Quick Edit in the posts list. - Moving a page under another page. Pages are hierarchical: a page called Fees placed under Admissions lives at
/admissions/fees/. Changing the parent, or the parent's slug, changes the address of every page below it. - Changing the permalink structure. Under Settings → Permalinks, switching from, say, Day and name (
/2024/03/12/sample-post/) to Post name (/sample-post/) changes the address of every post at once. The same screen holds the optional category and tag bases, which change every archive address too.
The "Customize Permalinks" article in the WordPress documentation lists the tags a custom structure can use.
What WordPress redirects on its own
When you change the slug of a published post, WordPress keeps the old one. The function wp_check_for_changed_slugs() stores the previous slug in a hidden custom field called _wp_old_slug. Later, when someone requests an address that returns a 404 but whose last part matches a stored old slug, wp_old_slug_redirect() sends them to the post's current address with a permanent (301) redirect. The code reference for wp_old_slug_redirect() shows the whole mechanism; WordPress also stores an old publication date in _wp_old_date, so changing the date of a post under a date-based structure is covered in the same way.
The same check covers media attachment pages and custom post types that are not hierarchical, such as most "products" or "events" added by plugins.
Two other built-in safety nets are worth knowing:
- Plain addresses keep working. A link of the form
/?p=123or/?page_id=45is redirected to the current pretty permalink of that post or page, whatever the structure. - WordPress sometimes guesses. When an address returns a 404, WordPress may look for a published post whose slug starts with the last part of the requested URL and redirect to it. This is what often rescues old date-based links after a switch to Post name. It is a guess, it can pick the wrong post when two slugs are similar, and some hosts or plugins turn it off. Treat it as a bonus, not a plan.
What it does not redirect
The gaps are where broken links come from.
- Pages. The slug-tracking code explicitly skips hierarchical post types. Renaming a page, or moving it under a new parent, does not store anything: the old address simply becomes a 404. Pages are often the addresses printed on leaflets.
- Drafts and scheduled posts. Only published posts are tracked. That is harmless, since nobody can have linked to a draft, but it means fixing a slug before publishing is free and fixing it after is not.
- Category, tag and author archives. Renaming a category slug or adding a category base changes those addresses without any redirect.
- Old slugs that a new post reuses. If you rename
/summer-fair/to/summer-fair-2025/and later publish a new post called/summer-fair/, the new post wins. - Changes made outside the editor. Imports, direct database edits and some bulk-edit tools bypass the code that records old slugs.
Adding a redirect yourself
For everything in the list above, add a permanent redirect from the old address to the new one. Google's guide to redirects and Google Search recommends a permanent server-side redirect (status 301 or 308) whenever a page has moved for good, and a temporary one (302 or 307) only when the old address will come back. There are three common ways to set one up.
At the web server
On Apache hosting, a line in the .htaccess file at the root of the site, placed above the block WordPress writes between # BEGIN WordPress and # END WordPress:
Redirect 301 /admissions/fee-list/ https://www.example.org/admissions/fees/On Nginx, a rule in the server block, which usually means asking the host:
location = /admissions/fee-list/ { return 301 /admissions/fees/; }Server rules are fast and work even if WordPress fails, but they live outside the dashboard, where the next editor may not look. Keep a copy of .htaccess before editing it: a typo there can take the whole site down with a 500 error.
With a redirect plugin
A redirect manager such as Redirection, or the redirect module included in some SEO plugins, stores rules in the database and lets editors add them from the dashboard. Many can also watch for slug changes and log the 404s visitors actually hit, which is the best way to find the links you forgot. The cost is one more plugin to keep updated, and the redirect only runs once WordPress has loaded.
At the hosting or CDN layer
Many managed hosts and CDNs have a redirect screen of their own. Write down that the rules exist and where they are.
Whichever method you use, point each old address straight at its final destination. If /a/ already redirects to /b/ and you now rename /b/ to /c/, update the first rule to go to /c/ instead of stacking a second hop. And redirect only to a page that genuinely replaces the old one: sending every retired URL to the home page looks like an error to visitors and to search engines. A page that is gone for good with no replacement can simply return 404, or 410 if you want to say so explicitly.
Changing the permalink structure on a live site
A structure change rewrites hundreds of addresses at once, so it deserves a little preparation.
- Take a backup first, including the database. The backup and restore guide explains how to make one you can actually restore.
- Export the current list of URLs from the XML sitemap (WordPress publishes one at
/wp-sitemap.xmlunless a plugin replaces it) or from your analytics. You will need it to test. - Write the redirect rule before you switch. Going from Day and name to Post name is a pattern a single rule can cover. On Apache:
Adjust the pattern to your old structure, and test it on a staging copy if you have one.RedirectMatch 301 ^/[0-9]{4}/[0-9]{2}/[0-9]{2}/([^/]+)/?$ https://www.example.org/$1/ - Change the setting and save under Settings → Permalinks. Saving that screen also rebuilds WordPress's rewrite rules, which is the standard fix when pretty permalinks suddenly return 404s after a migration.
- Test a sample of old addresses from your list, including a few with comments, pagination (
/page/2/) or feeds (/feed/), and check that each one reaches the right post in a single 301 hop.
Google's page on site moves with URL changes advises keeping redirects for as long as possible, generally at least a year. On a small site there is no reason ever to remove them.
Update the links you control
A redirect rescues visitors, but every internal link that still points at an old address costs an extra request and keeps the old URL alive. After a change, update:
- Navigation menus, under Appearance → Menus or in the Navigation block. Custom links typed by hand do not update themselves; links added from the Pages list do. Menu order and page hierarchy are covered in ordering WordPress pages.
- Links inside posts and pages. On a site with WP-CLI, a dry run shows how many would change before anything is written:
Removewp search-replace 'https://www.example.org/admissions/fee-list/' 'https://www.example.org/admissions/fees/' --skip-columns=guid --dry-run--dry-runto apply it. Theguidcolumn is an identifier used by feed readers and should not be rewritten. - Images and files. Renaming a media item's slug changes its attachment page, not the file address under
/wp-content/uploads/, so embedded images keep working. Replacing the file itself is a different matter; the captions guide covers how images are stored and inserted. - Everything outside the site that you can edit: email footers, social media profiles, printed QR codes due for a reprint, your business listing.
A short checklist before you rename
- Is it a post (redirected automatically) or a page, category or tag (not redirected)?
- Has the old address been published, printed or shared? If not, change it freely.
- Redirect written as a 301, pointing straight to the final address.
- Menus and internal links updated; old address tested in a private window.
- For a structure change: backup taken, URL list exported, a sample tested after saving.
 Pages & images
Ordering pages
How WordPress decides the order of pages, how to set it with the Order attribute, navigation menus or drag-and-drop, and how to sort page lists in code.
 Logins & site admin
Backing up WordPress
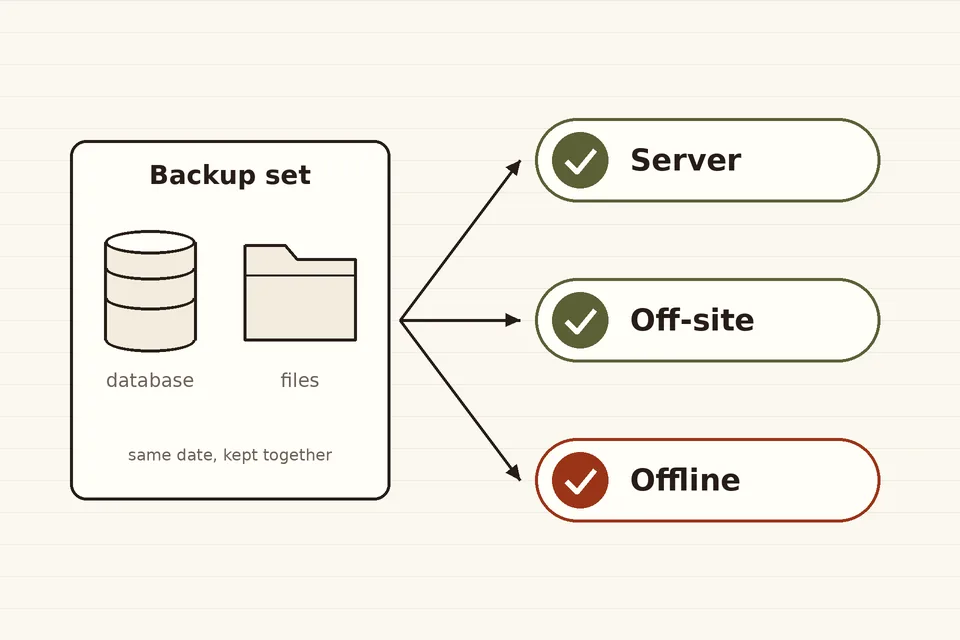
Files and database as one set, copies in separate places, and a test restore before the day you need it.
 Pages & images
Image captions
How captions work in WordPress: caption versus alt text, adding captions in the Image block and Media Library, styling them, and showing captions in templates.